This post is a few days late. It has been busy with the school holidays and so I wasn't able to make the card in time or post it on Monday. So here it is now. Better late than never.
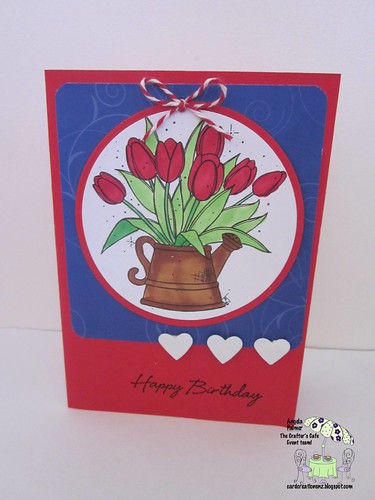
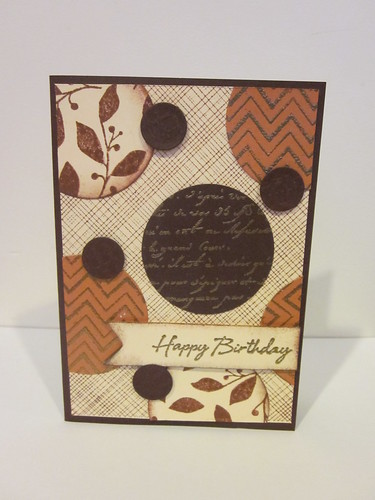
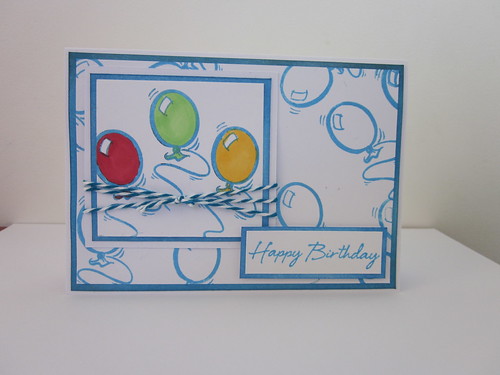
The colours of the card - red, white and blue are inspired by the
Embellies with a Twist challenge at The Crafter's Cafe. We would love to have you join us and take part in our challenges.
I decided to use the sketch at
Card Patterns #172 for my design. Unfortunately this is the last sketch for Card Patterns. Due to family commitments and things, the blog is coming to an end. This is the third blog I have enjoyed following and taking part in their challenges that is coming to a close. A few months ago there was Wee Memories and then more recently, Lily Pad Cards. I can imagine that a lot of time and effort goes into these challenges blogs (probably more than most of us realise) and I can appreciate that sometimes a good thing has to end and other priorities like family, need to come first. I know that even I struggle to get to my blog sometimes and that wouldn't be as much work as running a challenge blog. So thank you for all of you who run the challenge blogs.
I am also entering this in the
Casual Friday challenge CFC59 - Round and round - Use 2 circles.
Supplies:
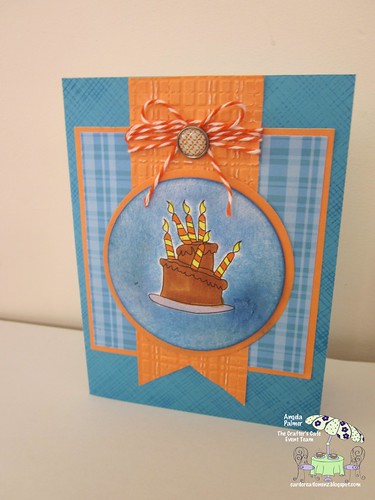
Image:
Tulips digital stamp from The Stamping Boutique
Stamps: HA Happy Birthday
Patterned Paper: Cre8tiv
Other: Copics, Red and white twine, Small heart punch from Stamping Up,
Tonight was a special night. We had a formal evening at our church,
City Impact Church, celebrating its 30th birthday - today! A very special occasion. I have been at the church for 20 of those years. I have seen a lot of changes and growth. I have been blessed in so many ways by the church, including meeting my husband there. Click
here if you are interested in seeing a video about the 30 years of City Impact Church.
Thanks for dropping by and for your comments. Enjoy the rest of your week.
Angela


